
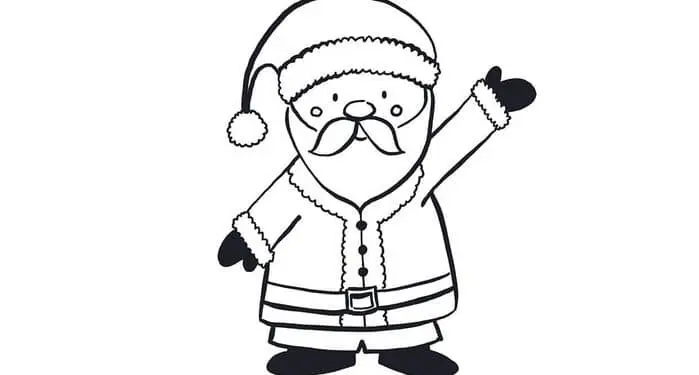
Drawing Santa for kids is a fun and easy way to get kids into the Christmas spirit. Whether you’re a parent, grandparent, or teacher, this fun activity will bring out your inner artist and delight your young ones. With a few simple steps, you can teach your child how to draw a traditional Santa Claus that they can be proud of. All you need is a few basic art supplies, such as pencils, markers, and paper, and you’re ready to get started. With the help of this guide, you’ll be able to help your little one create a cheerful and cheerful Santa in no time. So, grab your art supplies and let’s get to work!
What You Will Need
For this drawing, you’ll need a pencil, a sketch pad or a piece of paper, and a few basic art supplies. You can choose the colors you prefer, but when drawing Santa, try to stick to red and white. These colors are traditional to Santa Claus and will make a cheerful and cheerful Santa. You can also choose to draw Santa on a green background. This is a festive color and will add a little extra Christmas cheer to your drawing. However, the choice is yours. You can use whatever colors you like best. You’ll also need a black pen for outlining and a few other art supplies such as crayons, markers, and scissors. These will help you add a few finishing touches to your drawing, such as coloring and cutting out the paper.
Drawing the Outline of Santa
The best way to get started is to draw the outline. You can start by drawing a large rectangle to make Santa’s body and a smaller one to make Santa’s face. Try to make the face smaller than the body since Santa’s belly will be large and round. Next, draw two curved lines on top of the rectangle for Santa’s hat. You can also add a few curly lines on the sides of the rectangle to represent the fur on Santa’s collar. Once you’ve drawn the outline, you can add a few simple details to Santa’s face. You can draw two small dots for Santa’s eyes, a curved line for the nose, and a smiley mouth with a few teeth. You can also add a few wrinkles to Santa’s face for a little added effect.
Adding the Details to Santa’s Face
Once you’ve added the basic details to Santa’s face, you can move on to drawing the rest of his outfit. You can start by drawing Santa’s belt. It should be a large, wide belt that goes around Santa’s waist. Try to make the belt as wide as Santa’s waist and make it as big as you can. Next, draw Santa’s buttons. They should be large and round and should be large enough to cover the whole width of Santa’s chest. You can also add a few stitching lines if you’d like to give your drawing a more detailed look. Once you’ve drawn the buttons, you can move on to drawing the rest of Santa’s coat. You can start by drawing two large circles for the sleeves. Then, draw two small circles on the end of each sleeve for the cuffs. For the coat itself, draw a large oval shape for the coat’s torso and shorter oval shapes for the coat’s arms. Make the coat wide enough to cover Santa’s large belly and make it as long as Santa’s torso.
Drawing Santa’s Hat and Beard
Once you’ve drawn the rest of Santa’s outfit, you can move on to drawing the accessories. You can start by adding Santa’s hat and beard. For his hat, draw two large circles on top of his head. Then, draw a thick, curly line for the hat’s brim. Make the brim as curly as you can to resemble Santa’s traditional look. You can also add a few smaller curls to the brim for added effect. For the beard, draw a curved line that goes from one side of Santa’s face to the other. Try to make the beard as big as the brim of Santa’s hat. Once you’ve drawn the beard and hat, you can move on to drawing Santa’s eyes.
Creating the Outfit
For the eyes, draw two large circles on either side of Santa’s face. Then, add two smaller circles inside the larger ones for Santa’s pupils. You can also add two straight lines on either side of Santa’s face for his eyebrows. Once you’ve drawn the eyes, you can move on to drawing Santa’s eyebrows. You can start by adding two long, straight lines above Santa’s eyes. Then, draw a few small lines below the eyebrows for the eyelashes. Once you’ve drawn the eyes and eyebrows, you can move on to drawing Santa’s scarf. For the scarf, draw a long, wavy line that goes from one side of Santa’s head to the other. Make the line as long as you can and add a few smaller curls for added effect. Once you’ve drawn the scarf, you can move on to drawing Santa’s moustache.
Finishing Touches
For the moustache, draw a curved line that goes from one side of Santa’s face to the other. If you want to make it look more realistic, you can add a few small curls to the moustache. Once you’ve drawn the rest of Santa’s outfit, you can move on to coloring. You can start by coloring Santa’s skin red and his clothing white. For the eyes, you can choose any color you like, but Santa’s eyes are usually blue. You can also add a few details to your drawing, such as snowflakes or Christmas trees. Once you’ve colored your drawing, you can cut it out of the paper.
Variations for Drawing Santa
There are many different variations of Santa Claus. You can draw any variation of Santa you’d like, such as Santa in a sleigh, Santa with his reindeer, or even Santa in the North Pole. You can also add a few other characters to your drawing, such as elves or Santa’s Little Helper. You can also add a few Christmas decorations to your drawing, such as Christmas trees, snowflakes, or gift boxes. You can also choose to draw your favorite Christmas carol, such as “Jingle Bells” or “Silent Night”.
Tips for Drawing Santa for Kids
– Make it fun – Drawing is an activity that can be enjoyed by all ages, including children. If you’re drawing with a child, make sure the activity is enjoyable. If your child is having a blast, they’ll be less likely to become frustrated or bored. – Use high-quality art supplies – Using high-quality art supplies is an easy way to improve your artistic skills. With better supplies, you’re more likely to make colorful, detailed drawings. – Keep it simple – If you’re drawing with a child, try to keep the drawing simple. Complex drawings can cause frustration, especially in younger kids. Instead, try to keep the drawing as simple as possible. – Find inspiration – No matter what you’re drawing, it’s important to find inspiration. If you’re drawing with a child, try looking at some children’s books to find inspiration.
Conclusion
This guide should have helped you learn how to draw Santa Claus. Once you’ve mastered this drawing, you can use it as a template for other drawings. You can choose to draw a Christmas carol or even use your drawing for a Christmas card. No matter what you decide to draw, drawing is a great way to express your creativity and have some fun during the holidays. So, what are you waiting for? Grab your art supplies and start drawing!


